Your Website Redesign Checklist for an Incredible Revamp


Ever had that one room in your house you keep the door shut on because it’s messy, unfinished…maybe even a little bit haunted? Fixing it would be expensive, time-consuming, and messy, which is, coincidentally, how most entrepreneurs feel about renovating their websites.
We get it — downtime means lost sales, broken links feel like traps, and there’s always that lurking fear you’ll tank your hard-earned search rankings overnight.
But here’s something contractors won’t tell you: a good website redesign can (and should) be less like a demolition montage on HGTV and more like swapping out the curtains. When you take your time, make a plan, and choose the right, tasteful upgrades, a revamp can be strategic, low-risk, and even a little bit fun.
So here’s your blueprint. We’ve distilled website redesigns down into an extremely doable, five-phase checklist that any entrepreneur can put into practice. Follow along and you’ll ship a fresh, modern site without sleepless nights or mystery 404s.
Ready to crack open your toolbox? Let’s get building.

Phase 1: Plan
Before diving into a website redesign, you need to know where you are, where you’re going, and what “good” looks like for your business. This is where you lay the groundwork so every pixel and plugin has a purpose.
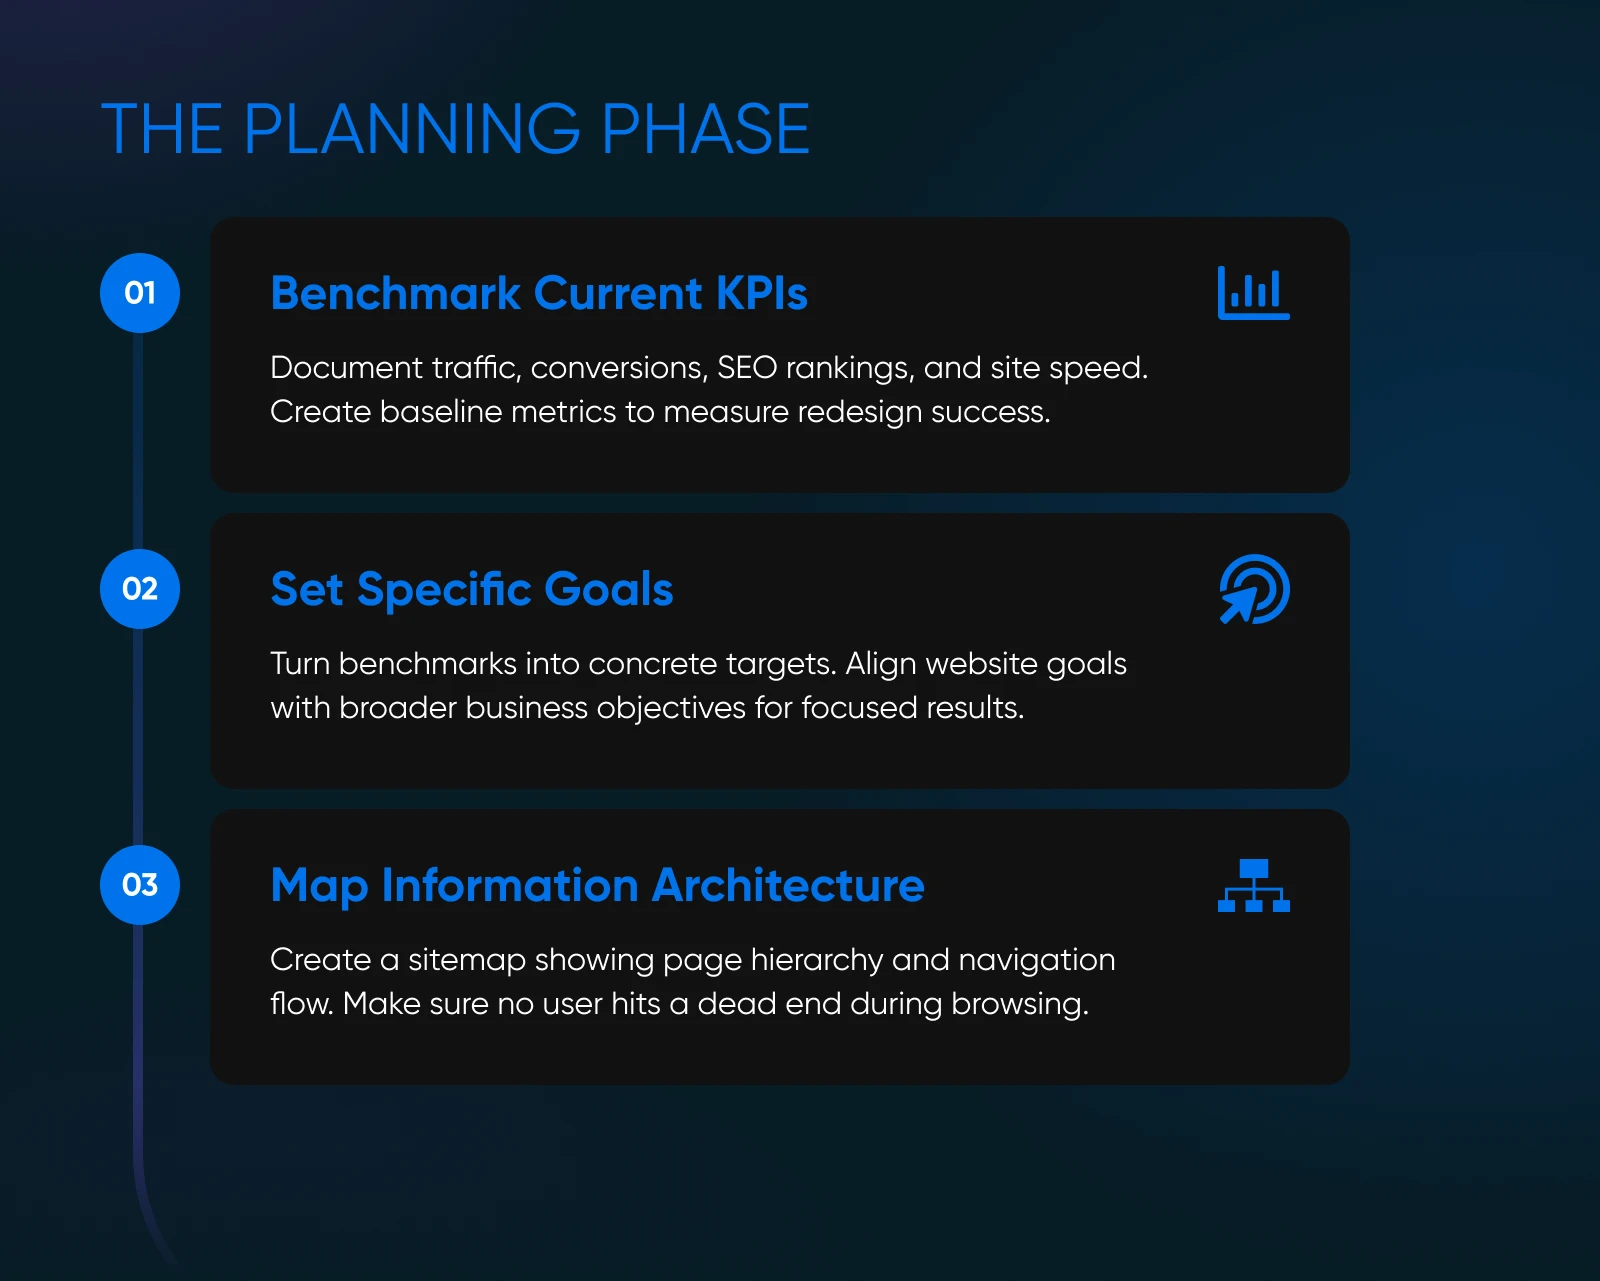
1. Benchmark Your Current Site KPIs
Start by identifying the KPIs most relevant to your website’s purpose and business goals. Here are some ideas, though these will vary depending on your industry and niche.
- Traffic and engagement: Look for sessions, bounce rate, and time on page in Google Analytics (GA4).
- Conversions: Track form fills, sales, or newsletter sign-ups.
- SEO: Export your top-ranking keywords, impressions, and backlinks.
- Site speed: Run a Core Web Vitals test with PageSpeed Insights or GTmetrix.
- User behavior: Scan heatmaps or session replays to spot friction.
2. Set Goals
With your benchmarks in hand, turn them into concrete, achievable targets.
Here are some tips:
- Establish clear and specific goals: Rather than broad statements like “increase traffic,” aim for specific targets such as “increase monthly visitors by 30% within six months post-launch.” Precise goals not only provide a clear direction but also make it easier to measure success.
- Align your goals with your broader business objectives: If your business aims to expand into new markets, your website redesign should include features and content that cater to this expansion. Similarly, if brand awareness is a priority, the redesign should focus on elements that enhance brand visibility and recognition.
- Keep user experience (UX) at the forefront of your redesign: This could include improving site navigation, speeding up load times, or creating more engaging content. Setting UX goals is all about enhancing the user’s journey through your site, making it more enjoyable, intuitive, and efficient.
- Don’t overlook the technical and aesthetic components: Goals in this area might include adopting responsive design for better mobile experiences, upgrading to a more SEO-friendly platform, or refreshing the visual design to reflect modern trends.
- Scalability and adaptability are vital: Set goals that not only address your current needs but also leave room for future growth and changes. This could mean choosing flexible design templates, planning for content updates, or ensuring your site structure can accommodate new features or technologies.
- Balance aspirational goals with practicality: Consider your resources, timeline, and constraints. While it’s good to aim high, your goals should be achievable within the parameters you’re working with.
3. Map Your Information Architecture
A sitemap is essentially a blueprint of your website. It lists all the major pages and, ideally, shows how they are interconnected. Another way to think of it is as a flowchart that outlines your site’s hierarchy and helps you visualize how content is organized.
To make your sitemap:
Phase 2: Build
This is where you bring your strategy to life; where sketches become screens. While the fun parts happen here, it’s important to stay disciplined so scope creep doesn’t devour your budget and let your build balloon into a Franken-site.
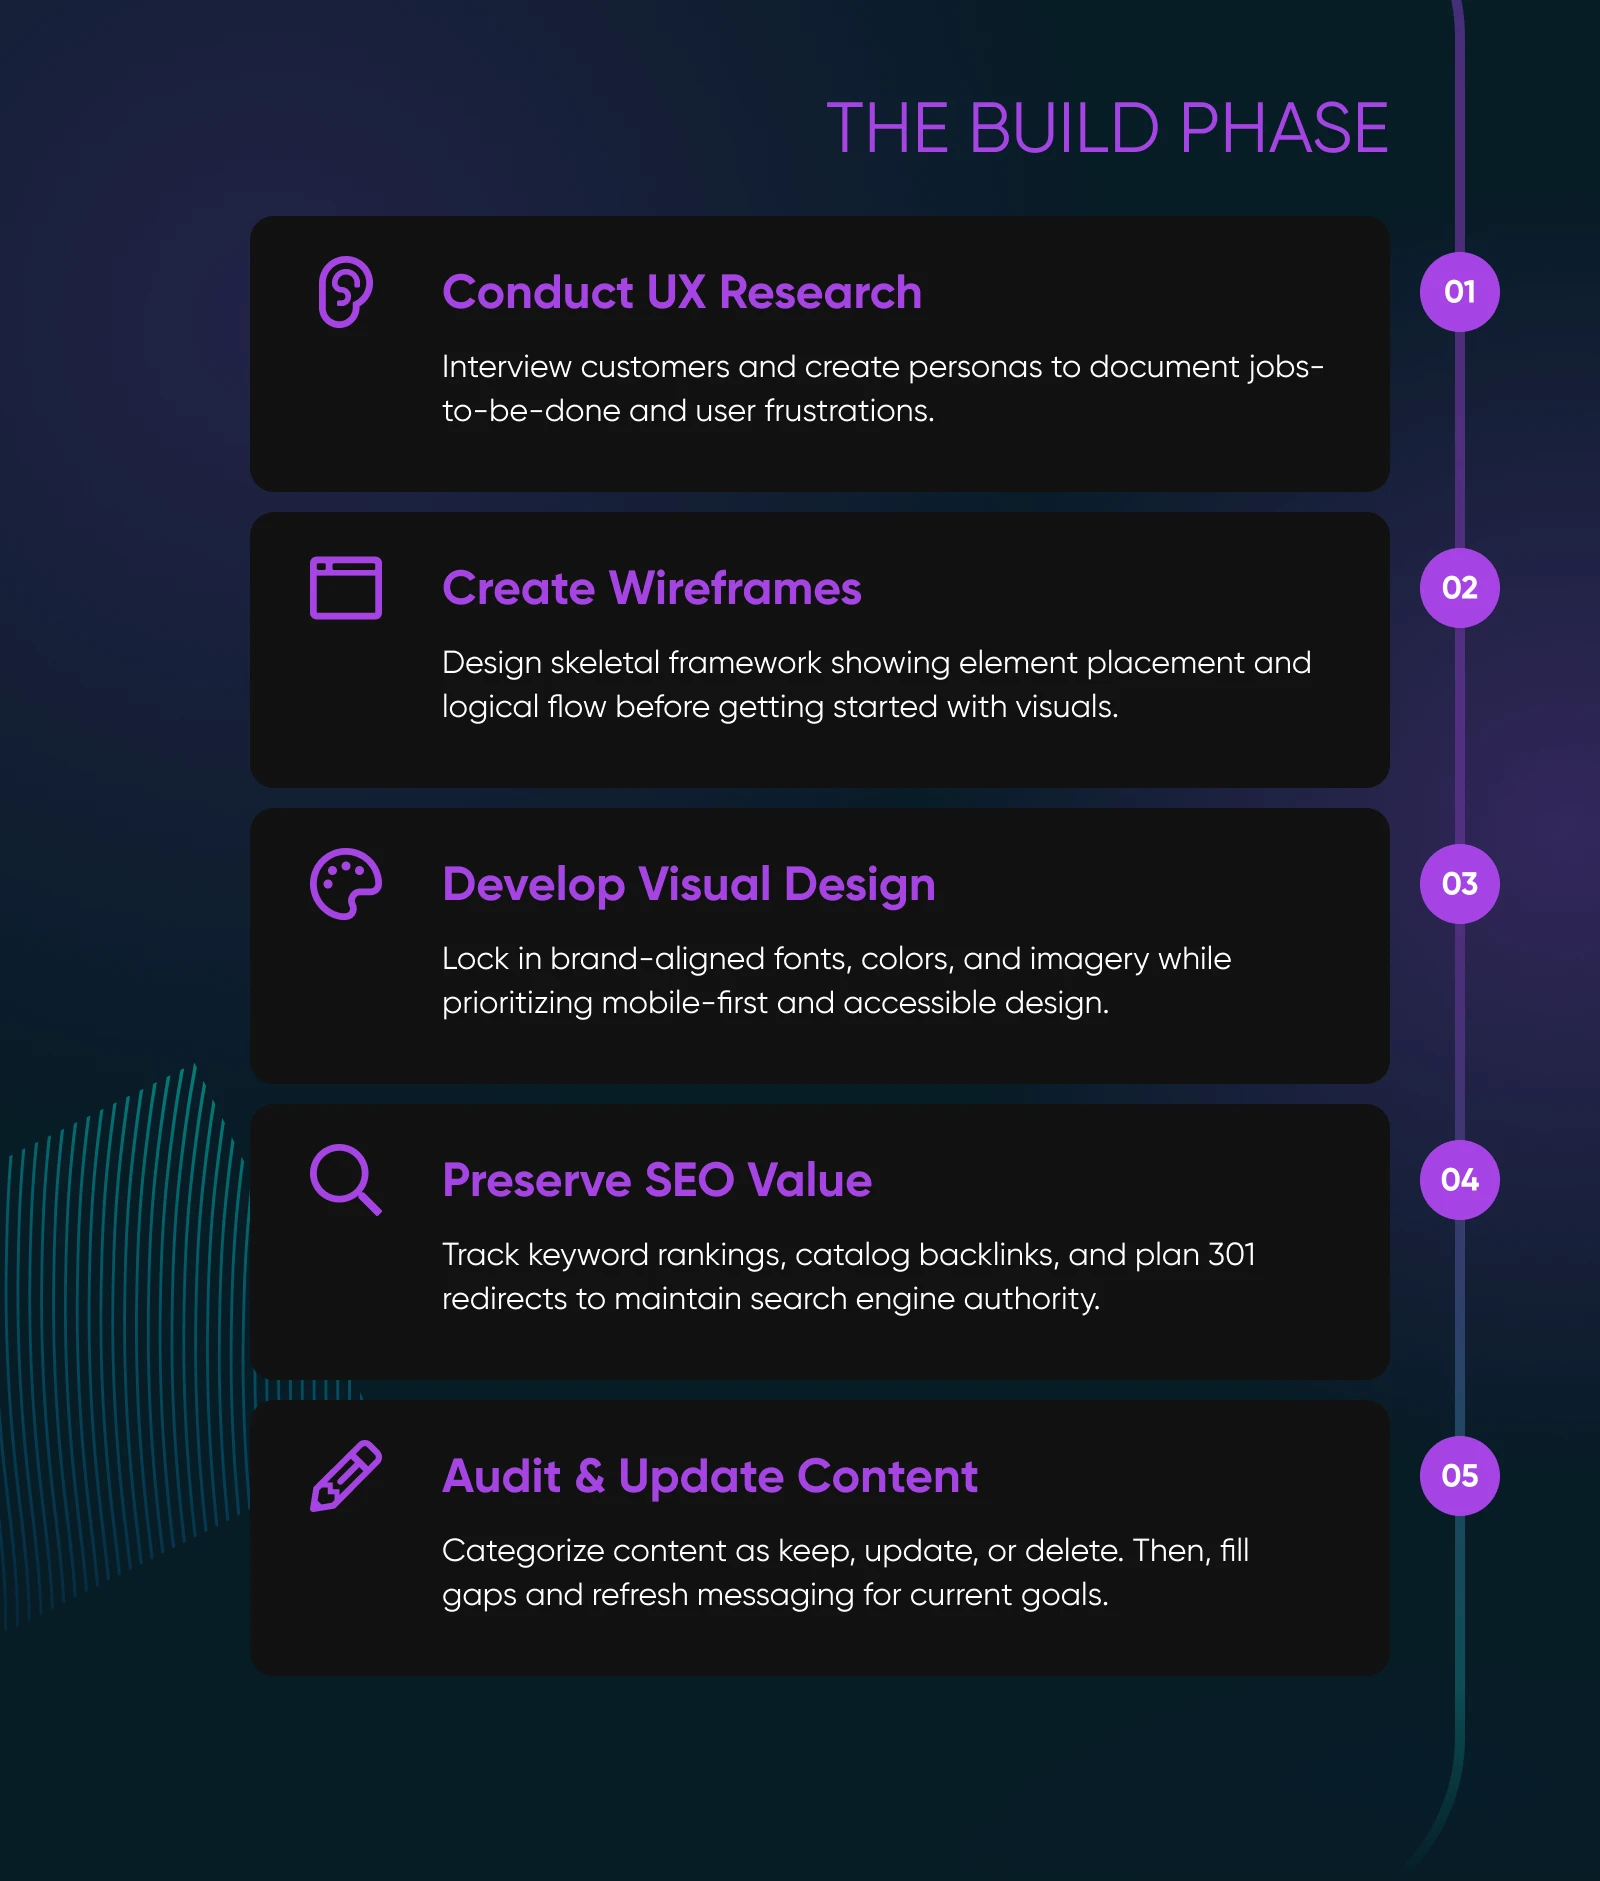
1. UX Research
Even the slickest layout flops if it doesn’t serve real users. That’s why UX research begins with a deep understanding of your audience. Who are your users? What are their needs, preferences, and pain points? Tools like user surveys, interviews, and analytics data can provide insights into your audience’s behavior and how they interact with your website.
So what are your next steps?
- Interview or survey customers.
- Document jobs to be done. Why do people visit your site? What does success look like?
- Draft a few lean personas summarizing goals, frustrations, and preferred devices. When designing your site, don’t design for everyone: design for them.
2. Wireframes
A wireframe is the skeletal framework of your website. It outlines the basic layout and elements of each page. Think of it like the floor plan in a house, showing where each piece of furniture goes, but not what it looks like.
At this stage, the focus is on the placement of elements such as headers, footers, navigation menus, and content areas. The goal is to create a logical, intuitive flow that guides users through your site.
Wireframing is an iterative process. It often starts with basic sketches and evolves into more detailed digital mockups. Soliciting regular feedback during this phase can help you refine the layout and build your confidence that it meets user needs.
3. Visual Design
Great design converts. Look for design inspiration in various places: other websites, art, nature, architecture, etc. Inspiration can come from anywhere!
A few best practices to keep in mind:
- Brand alignment: Lock in fonts, color palettes, and image styles that reflect your brand’s identity and values.
- Accessibility: The design should enhance the user experience, not hinder it. Check color contrast, add alt text, and make sure your site is navigable using only a keyboard.
- Mobile-first design: The majority of today’s web users browse on mobile devices. Design for small screens first.
4. SEO
Search engine optimization (SEO) is a critical component of any website redesign. Good SEO means your website is easy to find and ranks well on search engines. This step of your redesign focuses on preserving and enhancing your site’s SEO value through careful planning and strategic execution.
- Measure keyword rankings: Start by getting a baseline. Use SEO tools to track the rankings of your most important keywords. See which keywords are driving the most traffic to your site. These high-performing keywords are critical to maintain or improve upon in your redesign.
- Catalog backlinks: Backlinks, or links from other websites to yours, are a vital part of SEO. Use SEO tools to catalog all existing backlinks to your site. Identify high-quality backlinks that are beneficial for your SEO. During the redesign, maintain or redirect these links to preserve their value.
- Plan 301 redirects: If your page URLs are changing in the redesign, plan for 301 redirects. This is a way to tell search engines that a page has permanently moved to a new location. Redirects ensure that the SEO value of the original page is passed to the new URL without broken links. They also make sure that users and search engines that try to access the old URLs are seamlessly directed to the new pages, maintaining a good user experience.
5. Content
Content is the essence of your site — you use it to engage users, convey your brand’s message, and enhance SEO. When you redesign your site, it’s a great opportunity to reevaluate and refresh content to make sure it aligns with your business goals.
- Content audit: Catalog all your web pages, blog posts, and other content pieces. Assess each item for its relevance, performance, and alignment with your current business goals and brand voice. Sort each piece of content into one of three categories: still valuable, outdated, or no longer relevant. As you analyze your content, look for gaps that need filling or topics that could be expanded upon.
- Competitive analysis: Look at your competitors’ websites and identify what types of content are performing well for them. This analysis can provide insights into topics that resonate with your audience and areas where your site can offer something unique or superior.
- Update content: Update and refresh existing content that’s still relevant but may need a facelift to match your new site design and updated brand messaging. This process includes revising outdated information, improving readability, and enhancing SEO.
- Create and delete content: Create new content that fills the gaps you identified and aligns with your content strategy. This content should be fresh, engaging, and tailored to meet the interests and needs of your audience. Delete content that is no longer relevant or does not align with your new site strategy. This keeps your site focused and uncluttered.
- Update internal links: As you update and restructure your website, check that all internal links are accurate and functional. This process may involve updating links in your content to point to the new URLs if you changed them.
Phase 3: Test
Redesign disasters rarely stem from bad design; they stem from skipped QA. So before you swap your staging sub-domain for the real URL, put your site through its paces to make sure everything works like it should.
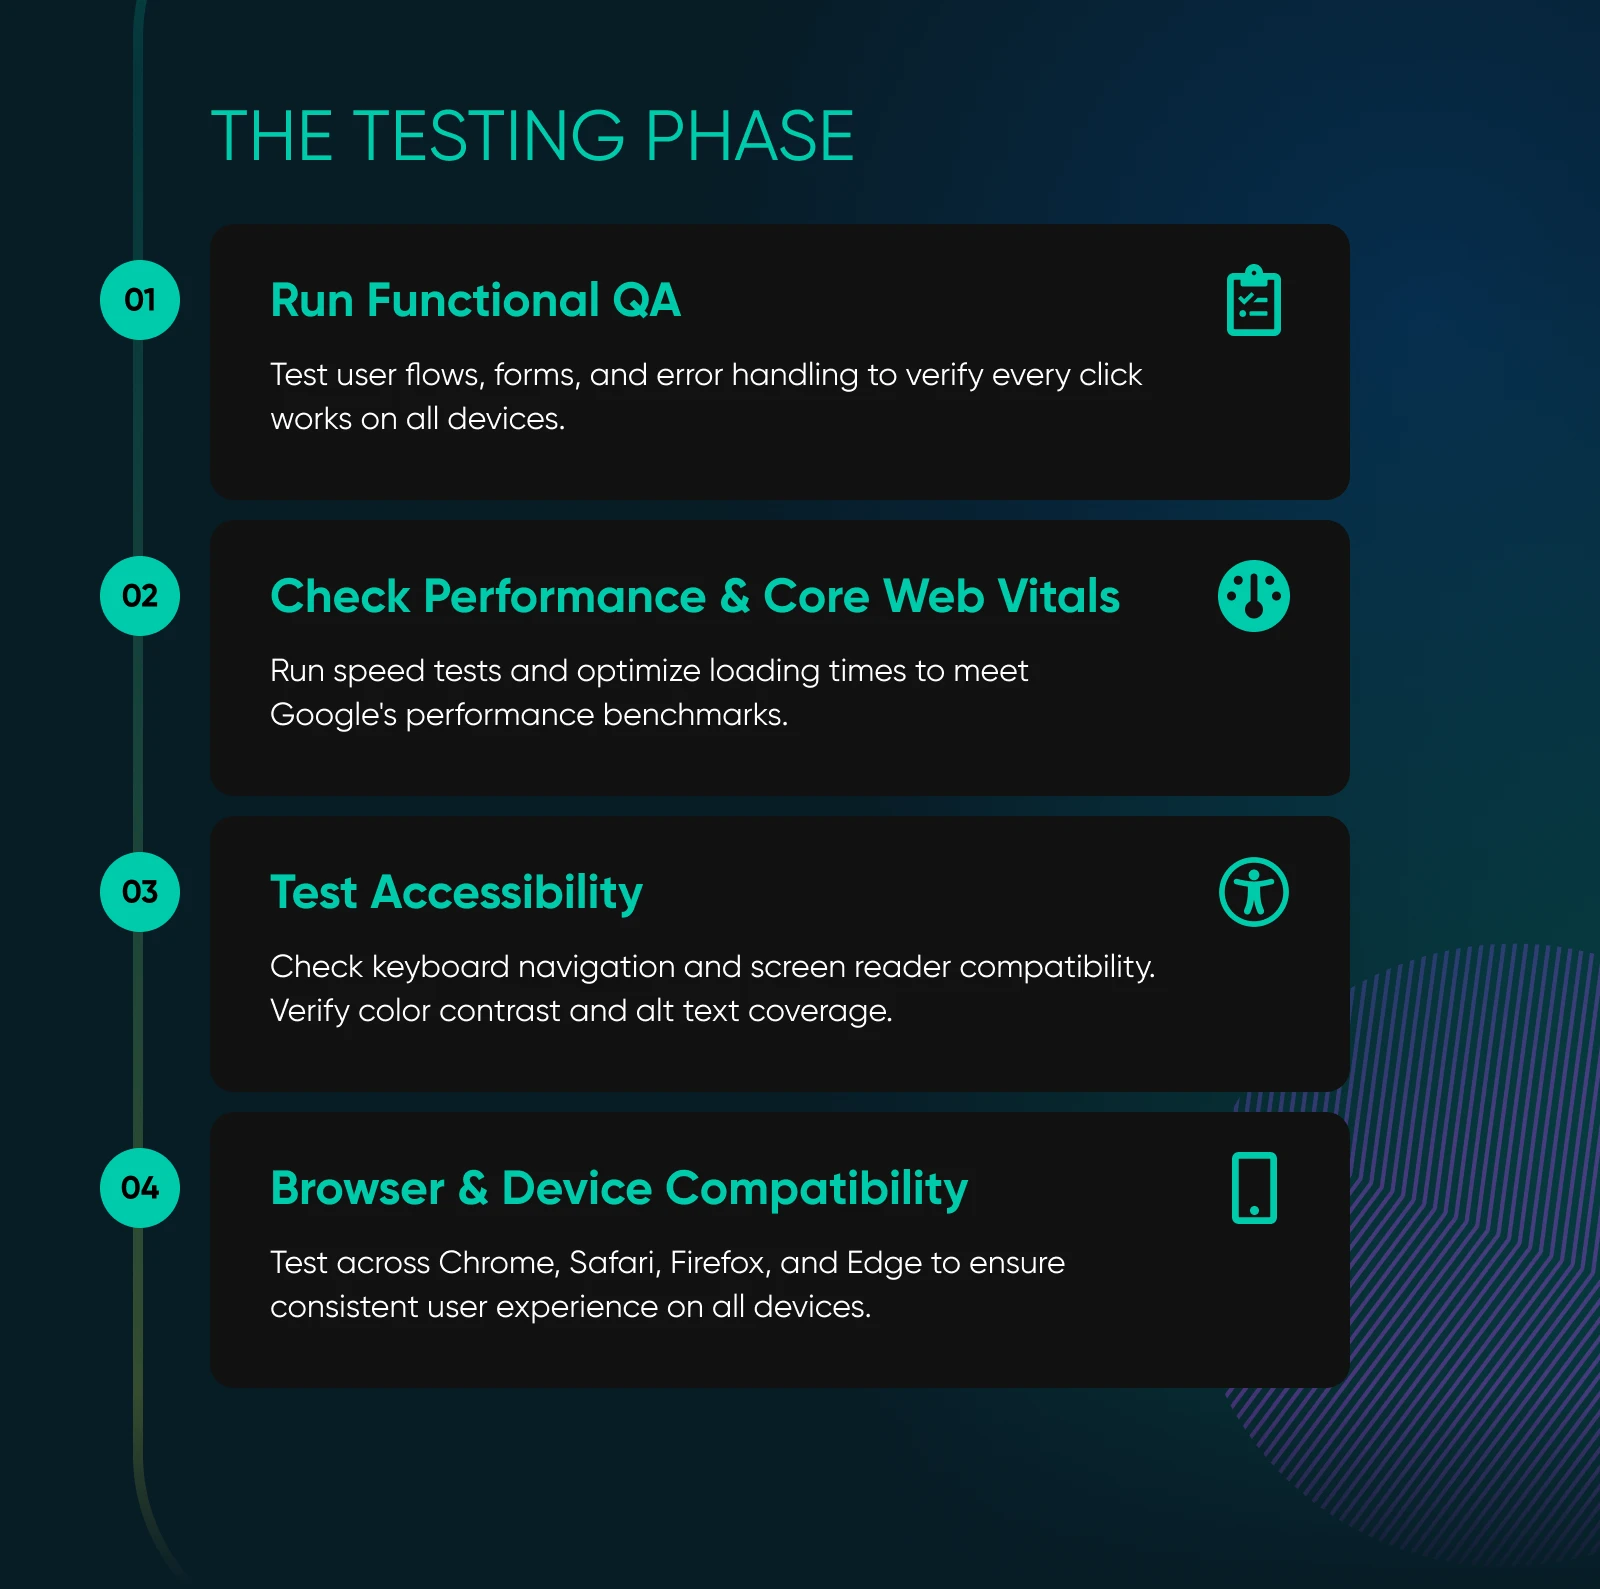
1. Functional QA
First, make sure every click, swipe, and tap leads exactly where it should, with no dead ends or data black holes.
Some tips:
- Test user flows: Walk critical paths (like Homepage → product → cart → checkout or Blog → lead magnet form → confirmation page) on both desktop and mobile.
- Submit forms: Submit test entries with both valid and invalid data. Confirm that autoresponders fire and CRM records update correctly.
- Double-check search and filters: If you have an e-commerce site, test product filters, facets, and internal search queries to make sure they all return correct, comprehensive results.
- Investigate error handling: Trigger a 404, required field error, failed payment, and any other error you can think of. Are error messages helpful or cryptic?
As you go, log bugs, assign fixes, and retest.
2. Performance and Core Web Vitals
In the digital age, where attention spans are short and competition is fierce, your site’s speed and performance are crucial. A fast-loading site keeps users engaged, reduces bounce rates, and ranks better on search engines.
To test and improve your site’s speed and performance:
- Run a speed test: Take advantage of tools like Google PageSpeed Insights, GTmetrix, or Pingdom to test your site’s loading times. These tools measure speed and provide insights into what might be slowing down your site, such as large images, inefficient code, or slow server response times.
- Make suggested adjustments: Those tools will recommend changes you can make to optimize your site’s performance, like optimizing images, minifying CSS and JavaScript files, leveraging browser caching, or upgrading your hosting plan.
3. Accessibility
The web is for everyone. Make sure your site reflects that.
- Run an automated scan: Use Lighthouse or axe DevTools to catch low-contrast text, missing alt text, and unlabeled buttons.
- Navigate using your keyboard only: Tab through menus and forms with no mouse or trackpad to make sure your site is accessible that way.
- Take a screen reader pass: Fire up NVDA or VoiceOver to be sure ARIA landmarks read correctly.
4. Test for Browser and Device Compatibility
With mobile accounting for approximately half of web traffic worldwide, you have to make sure your site performs just as well across all platforms and browsers. Test your website on various devices, including smartphones, tablets, and desktops, to ensure a consistent and optimal user experience. The same goes for different browsers and operating systems: test on Chrome, Safari, Firefox, and Edge, plus iOS and Android.
Phase 4: Launch
A well-orchestrated launch feels boring in the best way possible. Follow these steps and your big day will be a victory lap, not a fire drill.
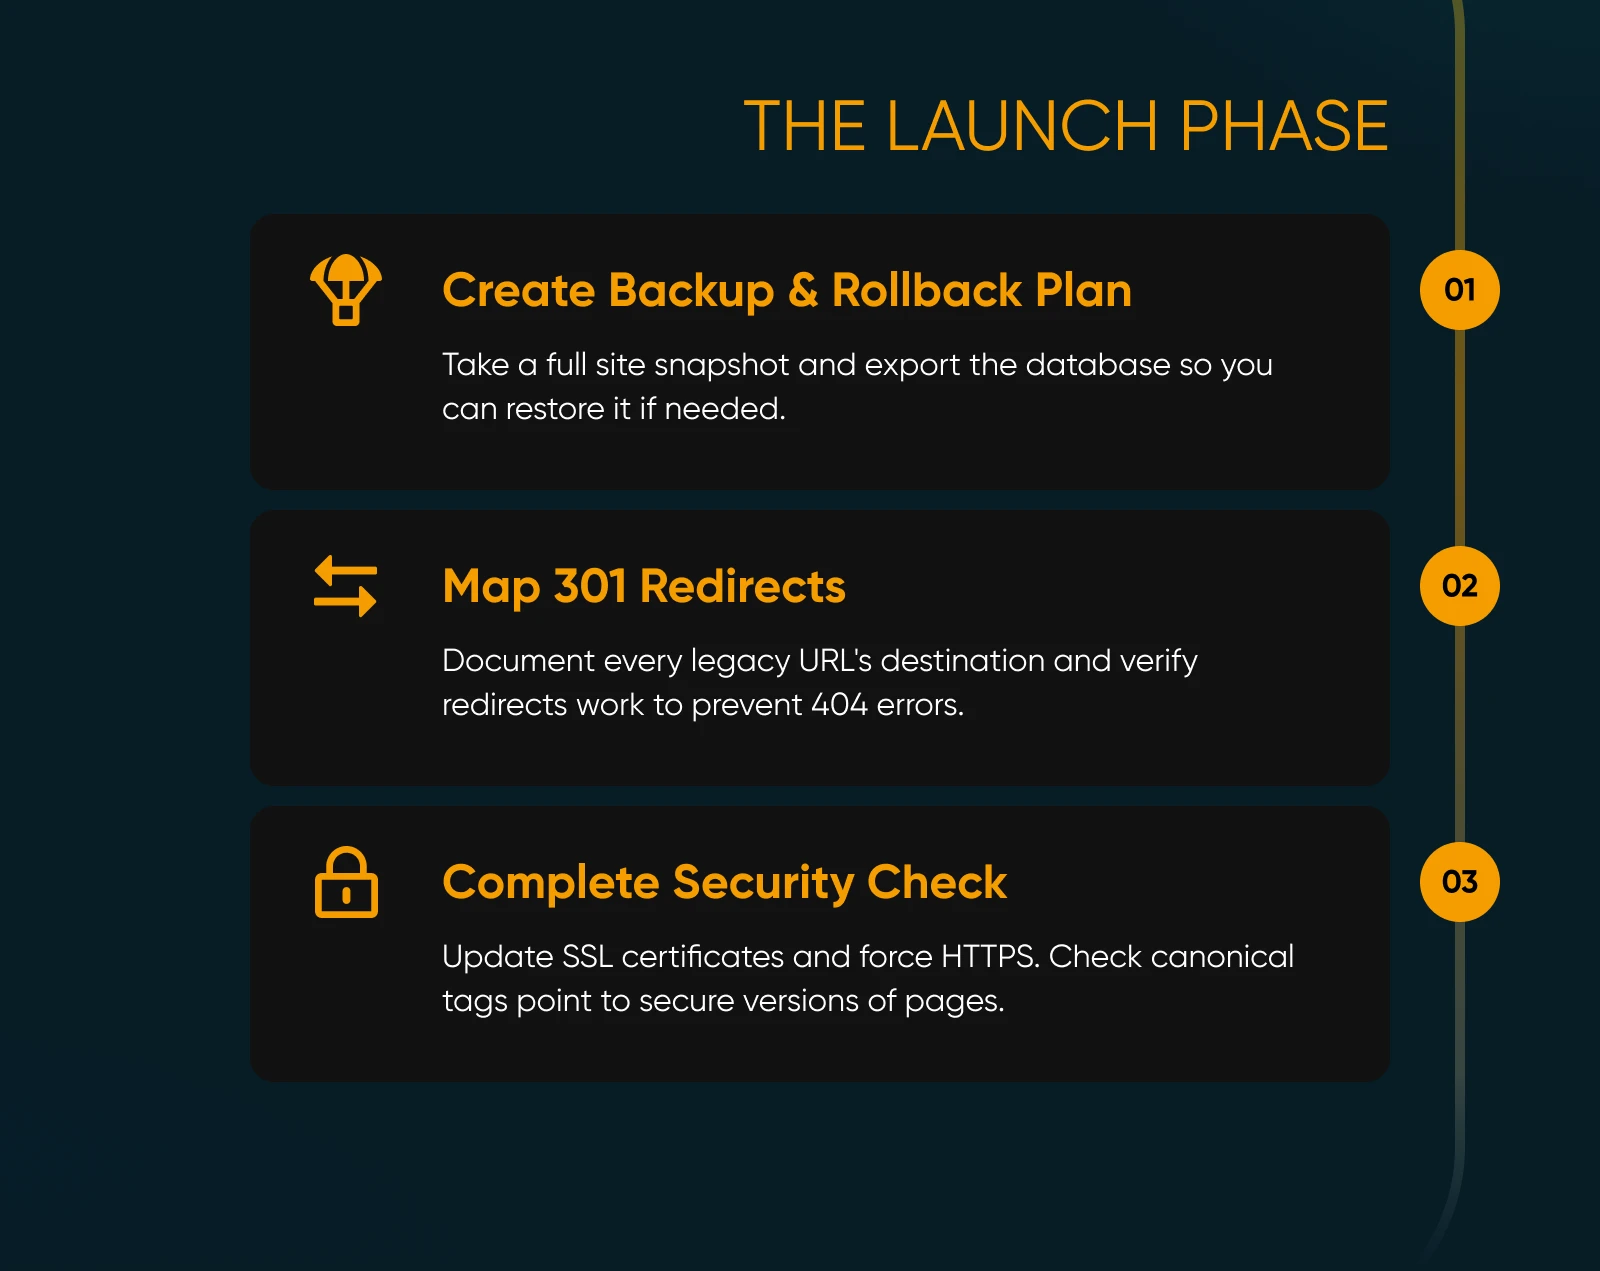
1. Backup and Rollback Plan
Just in case something goes catastrophically wrong, have an escape hatch:
- Full site snapshot: DreamHost offers one-click backups, but if you host your site on a reputable CMS like WordPress, you should be able to back it up pretty painlessly before launching your redesign.
- Export your database: Themes and plugins can be reinstalled, but data can’t be reinvented, so download or export your SQL database just before launch to make sure it’s current.
- Plan a rollback worst case scenario: Know exactly how you’d restore the backup if needed and who’s on call for what.
2. 301 Redirect Map
Nothing tanks SEO like vanishing URLs, so at launch, do another check to make sure your pages and links all go where they should.
- Map old → new URLS: Build a CSV of every legacy page and its destination.
- Verify redirects: Crawl the live site post-import and make sure you get zero 404s.
3. Do a Security Check
Finally, make sure your new site is secure:
- Update your SSL certificates to force HTTPS on every page.
- Check canonical tags to confirm they point to the HTTPS version.
Phase 5: Improve
Your new site is live, the confetti’s swept up, and traffic looks healthy. Awesome! Now keep that momentum by treating your website like a living product that evolves with your business.
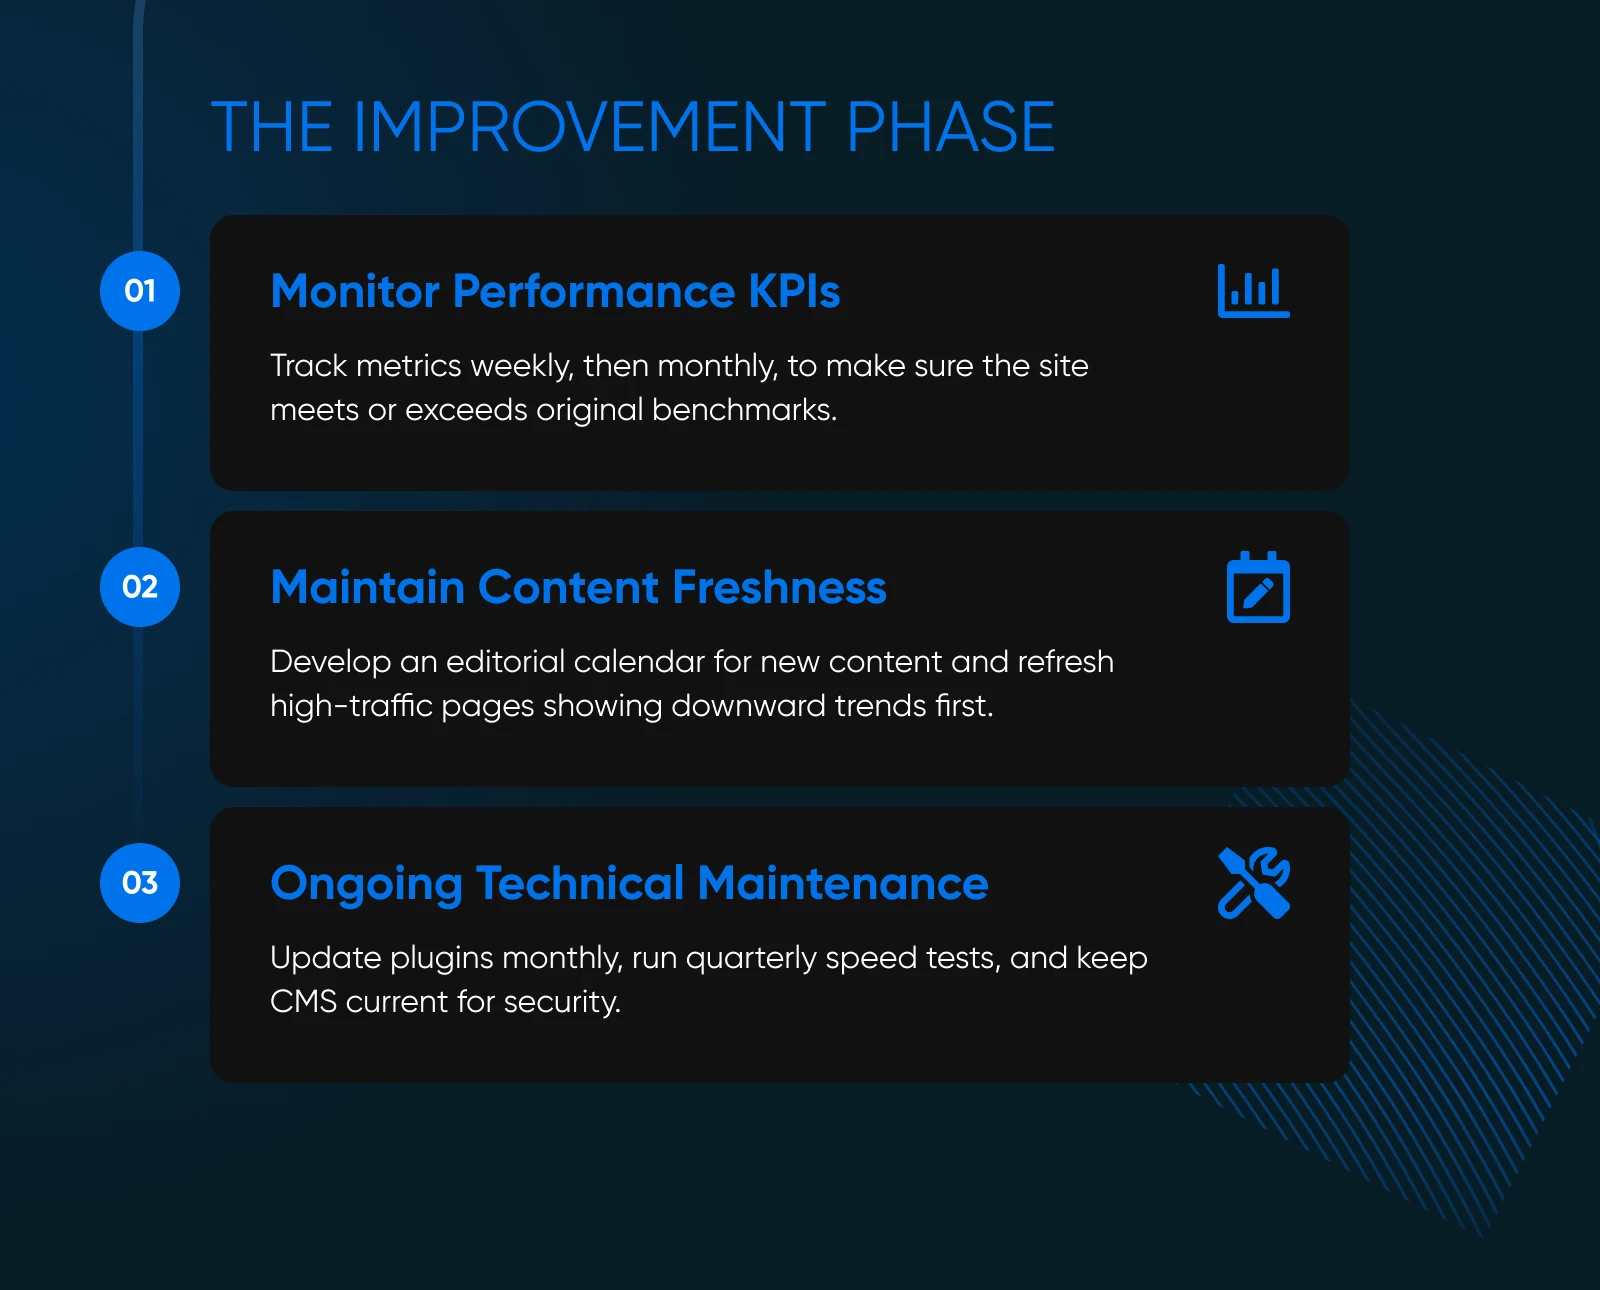
1. Monitor KPIs
Remember those benchmarks you logged in Phase 1? Pull them up weekly for the first month, then at least monthly. Make sure your site is at least meeting benchmarks, and ideally, improving against them.
2. Refresh and Post New Content
Search engines love fresh, relevant content (and so do customers). Set a cadence for publishing new content and refreshing what already exists on your site. Develop it into an editorial calendar you can maintain.
💡Pro tip: Sort pages by traffic and conversions, flag any downward trends, and refresh those pages first.
3. Keep Up With Site Speed, Security, and Plugins
Some best practices for keeping your site in good shape on an ongoing basis:
- Do a monthly plugin review: Delete anything unused, and update all the rest.
- Run a speed test quarterly: Address any issues that come up. This way, you’ll always be sure your site is as fast as possible.
- Update your CMS whenever an update is available: This ensures you never miss security patches that keep your site (and its users) protected.
Keep Building With DreamHost
Your site is never “done,” but with a repeatable five-phase framework (and a great host in your corner) you can handle every new iteration ahead. Now all that’s left to do is make the web a better, faster, more delightful place, one site redesign at a time.

Pro Services – Web Design
DreamHost Makes Web Design Easy
Our designers can create a gorgeous website from SCRATCH to perfectly match your brand and vision — all coded with WordPress so you can manage your content going forward.
Learn More
Did you enjoy this article?

